Wednesday, June 27, 2012

On the Cheap Vol. I

1.  Ditch the paper towels (or significantly decrease your consumption).  Paper towels get spendy.  Sure these little guys are handy, but at a price.  At $1.50-$2.50 per roll, the cost of these disposable items adds up.  We used them because we didn't like the idea of a damp, bacteria filled washrag sitting in the sink.  Solution:  Buy a couple packs of bar mop rags ($5.00 for a package of eight at WM) and use them like we would a paper towel.  Toss them in the laundry and use again.  Cost savings per year:  $50


Pic and great info found here

2.  Cloth diapers.  I am SO not the expert on these, and there are thousands of sites, forums, and blogs devoted to the art of cloth diapering.  Let's just say these are not your mama's fold and pin diapers.  We use Fuzzibunz diapers and have since our two year old was born.  Baby number two is also in cloth.  Sure, you have to worry about washing them, but for the price savings and "green factor," it's worth it for our growing family.  We are keeping a huge amount of trash out of landfills, and saving around twenty cents each time we put one of our little guys in cloth.  The diapers are a bit of investment in the beginning, but are totally worth it as you use them longer.  We get ours here.  Cost savings per year for a family with two in diapers: $400.

3.  Coupon or Groupon.    I'm not talking about the crazy couponing strategies seen on reality tv (Seriously though, where do they get the time, energy, and fliers for that?  And who needs 50 boxes of cake mix?).  I don't line up my shopping with weekly sales or coupons.  One thing I do every week before we head to the store, though, is go to coupons.com and print a few coupons.  I print anything I think we might need in the next month or so, and then when it's on our list I just happen to have a coupon.  Sometimes the stars align and I find coupons for what I need that week, and other times we don't use any.  It's not rocket science, nor is it difficult, but it has saved me from every paying full price for cereal or soap.  Cost savings per year: $50

I am not a weathered Groupon user, but I have purchased a few experience/food related groupons, and they were great deals.  It's a great way to pay for a date night dinner at half price or a trip to the water park at BOGO.   Sign up is free, and you only buy something when it's a perfect fit.  Our best Groupon purchase?  Meat from a local market at half price.

Friday, June 8, 2012

On the Cheap

I quit my job.  Good start to the post, eh?  I'm nervously excited to say that I am taking a temporary break from teaching to be a mom.  I have been wanting to do this since my first baby was born, and have finally made the leap.

There are many new adventures to come, I'm sure, one of them being our ability to stay afloat financially. Many people say to me "That's awesome that you guys can make it work with one income."  Key words: make it work (said Tim Gunn style).  It would be awesome to not have to worry about money and stay home with no concerns, but what challenge would that be?

While I'm beginning my new adventure as a SAHM  (I totally already know the acronym...how savvy of a mom am I?) I'll be sharing my penny pinching ideas in a series called "On the Cheap."  While I am not the pioneer of frugality, I love me a good bargain or money-saving tip.   So I'll provide you with some goodies, sifted through and hand-picked and experimented with by yours truly.

"On the Cheap"  Series:  Coming Soon!

Wednesday, May 30, 2012

You can call me Senora

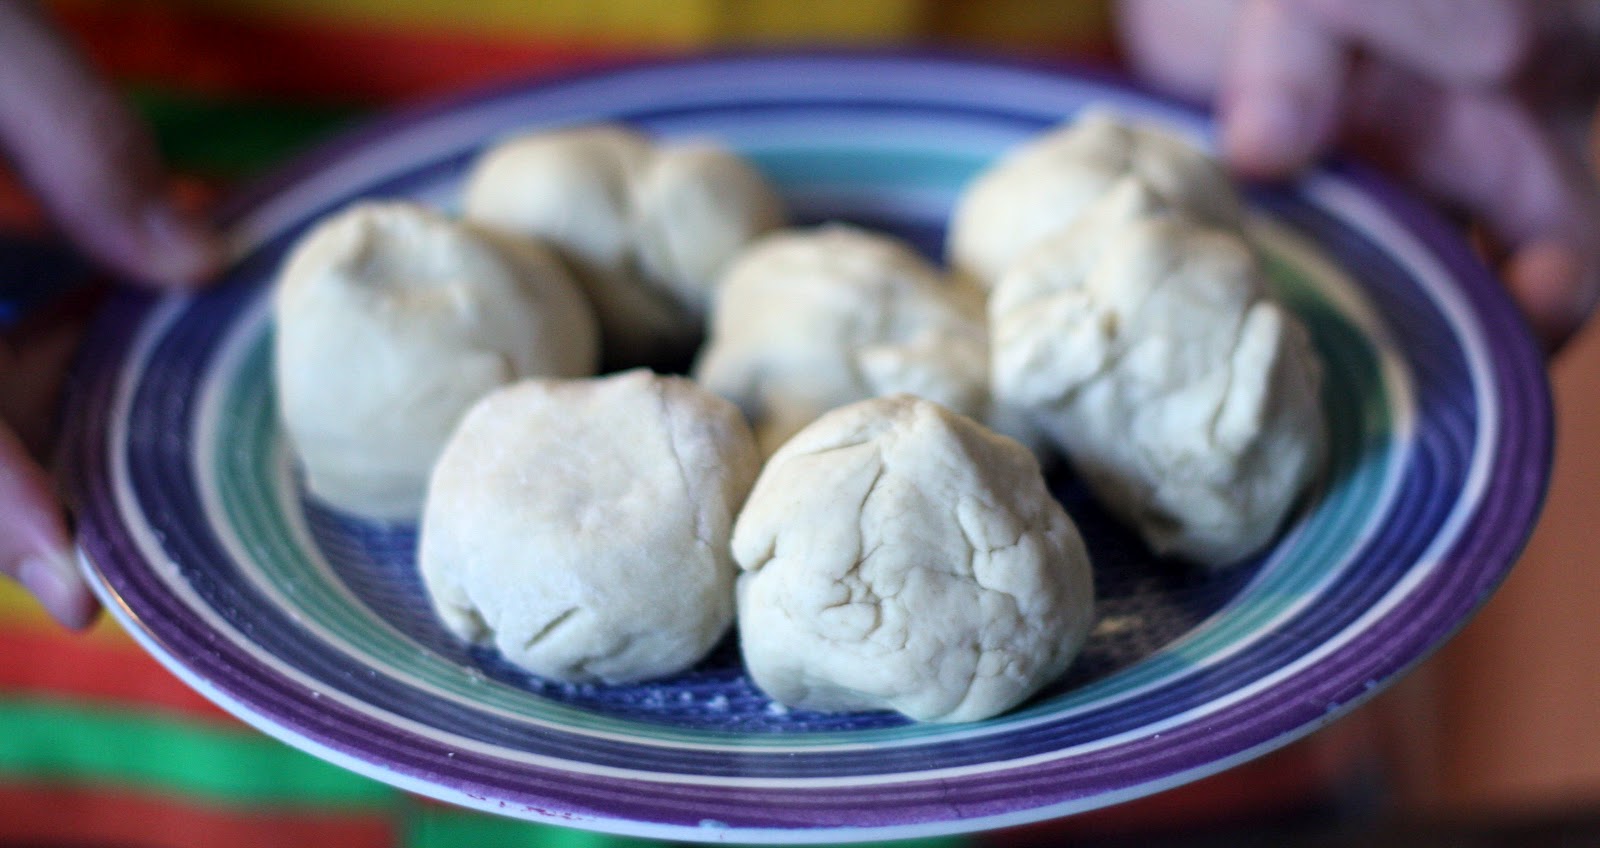
In an effort to become more amazing in the kitchen and save a little cash, I decided to stop purchasing tortillas at the store and start making my own.  As an added bonus, my homemade tortillas contain less preservatives and taste way better than any that I've purchased.

I found a recipe to put together a jar of tortilla mix here.  I followed the directions and stored the mix in an old pickle jar.  When ready to use the tortillas, I mixed, let rise, rolled, and slapped those babies on the griddle (my skillet, actually, I'm not that awesome).  I won't repeat the directions, you can find them on the link, but I will share some HQ photos with you.  By HQ I mean high quality, and by high quality I mean crappy.  Our kitchen is not well lit and we at the Anderson house do not have the food photography thing down yet.  But we can make some mean tortillas.


My best advice if you decide to make these is roll out the dough very thin...if it's too thick it's more like a fry-bread.  The website tells me that these cost $0.25 to make ten of these--much thriftier than my old package for $3.00.


Monday, May 21, 2012

Store and Organize Childhood Memories

"Cherish the time when your kids are small...it goes by so fast." I have heard this a thousand times, and probably will say to young moms at the grocery store when my kids are teenagers and no longer want to be seen with me in public. It's great advice, really, and I work hard to be present in the moments I spend with family and friends. I try to soak up the baby coos and the new words my toddler is saying, and enjoy watching them try new things and reach milestones. But while I'm busy being present, there is a voice in my head shouting "IS SOMEONE WRITING THIS DOWN? WHO'S TAKING PICTURES OF THIS?" I want to be in the moment with my little guys and just enjoy them, but the crazy organized part of my brain says I need to be putting this info somewhere, for both my kids and me to look back at some day.


Here is how (without going overboard and driving myself crazy) I document my kids' everyday anecdotes, as well as milestones and photos:

-A monthly email to each of my kiddos.  This is just an informal message I send to them, usually telling them how special they are to me, what they've been doing and any milestones they've come upon.  Before my 2 year old was talking in sentences, I was writing down his new words as well.  We set up email addresses for both kids, one at gmail and one at yahoo (to get the same format: firstnamemiddlelastname@emailservice.com. We set the email up and are the "users," but as the boys get older they'll be able to look back and see all their messages from me.  Because I'm a little type-A, I also print each message and stick it in their baby book.

-That brings me to the baby book.  I fill these out, but they're not very personal and some of the pages are not awesome.  For instance, the "New foods I've tried" section on the 1 month-6 month pages.  hmmm.

-Notebook for funny quotes or happenings:  I have two little notebooks (one for each kid) in our kitchen that are easy to get to.  When something funny or noteworthy happens, I jot it down along with the date.  I figure these will be great when I want to tell my kids stories about funny things they've done.

-Pictures and videos:  We have a video camera, but my husband's Droid is much more accessible, as he always has it on his person.  We shoot videos at least twice a week, usually of the normal everyday stuff kids say and do.  We also have a camera that I am slowly learning to use.  One of my goals this year is to be a better photographer, so I'm taking pictures every day.  After I take them, I use my short amount of free time to upload, edit, and organize onto my computer.  Jen at A Thousand Words blogged about how to organize pictures on the computer.  I am following her advice on labeling the pictures and have found it to suit my compulsive need to organize very well.  

Wednesday, March 21, 2012

Paint Chip Train and a Bus


Surely you've already hopped aboard the ever-popular paint-chip-art train? What? You haven't robbed your local hardware store of all the season's colors in the name of crafting? Get on it. Barb has been planning this project for a while, and we just got around to completing it yesterday. I use the term "we" loosely. I glued and she pretty much did the rest. This little piece of art began as an ugly thrift store find, and is now a pretty paint chip frame to hang in her craft room. Here are the details:

Materials:
-thrifted canvas, wood painting, or other base of your choice
-stolen paint chips
-spray adhesive
-antiquing medium
-chipboard letters
-spray paint
-E6000 adhesive


Here's the starting point: a delightful fruit basket complete with flowers. Because who doesn't mix a little baby's breath in with their fresh produce?
Adhere the paint chips to your surface. We used an antiquing from Hobby Lobby after this, but didn't photograph it.
Arrange your chip board letters on the back piece. We spray painted ours white so they would really pop out when hanging on the wall. Use E6000 or another adhesive to get your letters to stay on .
If you're checking out that backwards "t", it was intentional. Geez, think outside the box, wouldya?

In other news, my two-year old is obsessed with buses. Like, they seem to consume his every thought, won't go to bed without one kind of deal. Guess it's healthier than my obsession with chocolate chip cookies. I let him watch youtube videos of the "Wheels on the Bus" videos on half my screen while I'm on the computer. This one is my favorite.


Saturday, March 10, 2012

New Projects

Here is one of the many projects I've been putting together. This one took an especially long time, but was totally worth it.
Baby boy #2 has been a joy thus far. Of course I am getting much less sleep and accomplishing fewer tasks, but am managing to squeeze in plenty of snuggle time and an extraordinary amount of nursing. This kid likes to eat. I'm going to be on the lookout for a onesie with a reference to how much milk this one drinks.

Aside from snuggling and playing cars with my two-year old, I have had a chance to create a few fun things around the house. Now that I am acclimated to my new little family, I hope to share all my fun projects with you very soon.

Tuesday, January 31, 2012

Magnetic Calendar

Sharing with you today the magnetic year-round calendar I crafted up. I had to post on the last day of January, mostly because my pregnancy goal was to make it until at least February. My due date is twenty days away, but each day I show up at work people look astonished to see me...same with my doctor's appointments. Yes, still cruising around with the baby bump. And loving every minute (and day of January).
My mom found the magnetic board at a craft store, but had she not, I was going to use a sheet of steel and vinyl or sharpie the calendar template on. For the date stickers, I did the following:
1. Printed off numbers 1-31
2. Printed off enough letters to spell every month (If you want a copy, comment below and I can email you the document).
3. Made the letters/numbers into stickers with a Xyron sticker maker, stuck them onto small squares of cardstock.
4. Mod-Podged the cardstock onto square tiles.
5. Used E-6000 to adhere a "rare earth" magnet (very strong hold, tiny magnet) on the back of each one.
I wasn't going for perfection here...I like the numbers a little off-kilter. It suits our style. I found some cupcake buttons I'm going to use in place of a number when it's someone's birthday, and will hopefully find some more themed buttons as well for other holidays.