In an effort to become more amazing in the kitchen and save a little cash, I decided to stop purchasing tortillas at the store and start making my own. As an added bonus, my homemade tortillas contain less preservatives and taste way better than any that I've purchased.
I found a recipe to put together a jar of tortilla mix here. I followed the directions and stored the mix in an old pickle jar. When ready to use the tortillas, I mixed, let rise, rolled, and slapped those babies on the griddle (my skillet, actually, I'm not that awesome). I won't repeat the directions, you can find them on the link, but I will share some HQ photos with you. By HQ I mean high quality, and by high quality I mean crappy. Our kitchen is not well lit and we at the Anderson house do not have the food photography thing down yet. But we can make some mean tortillas.
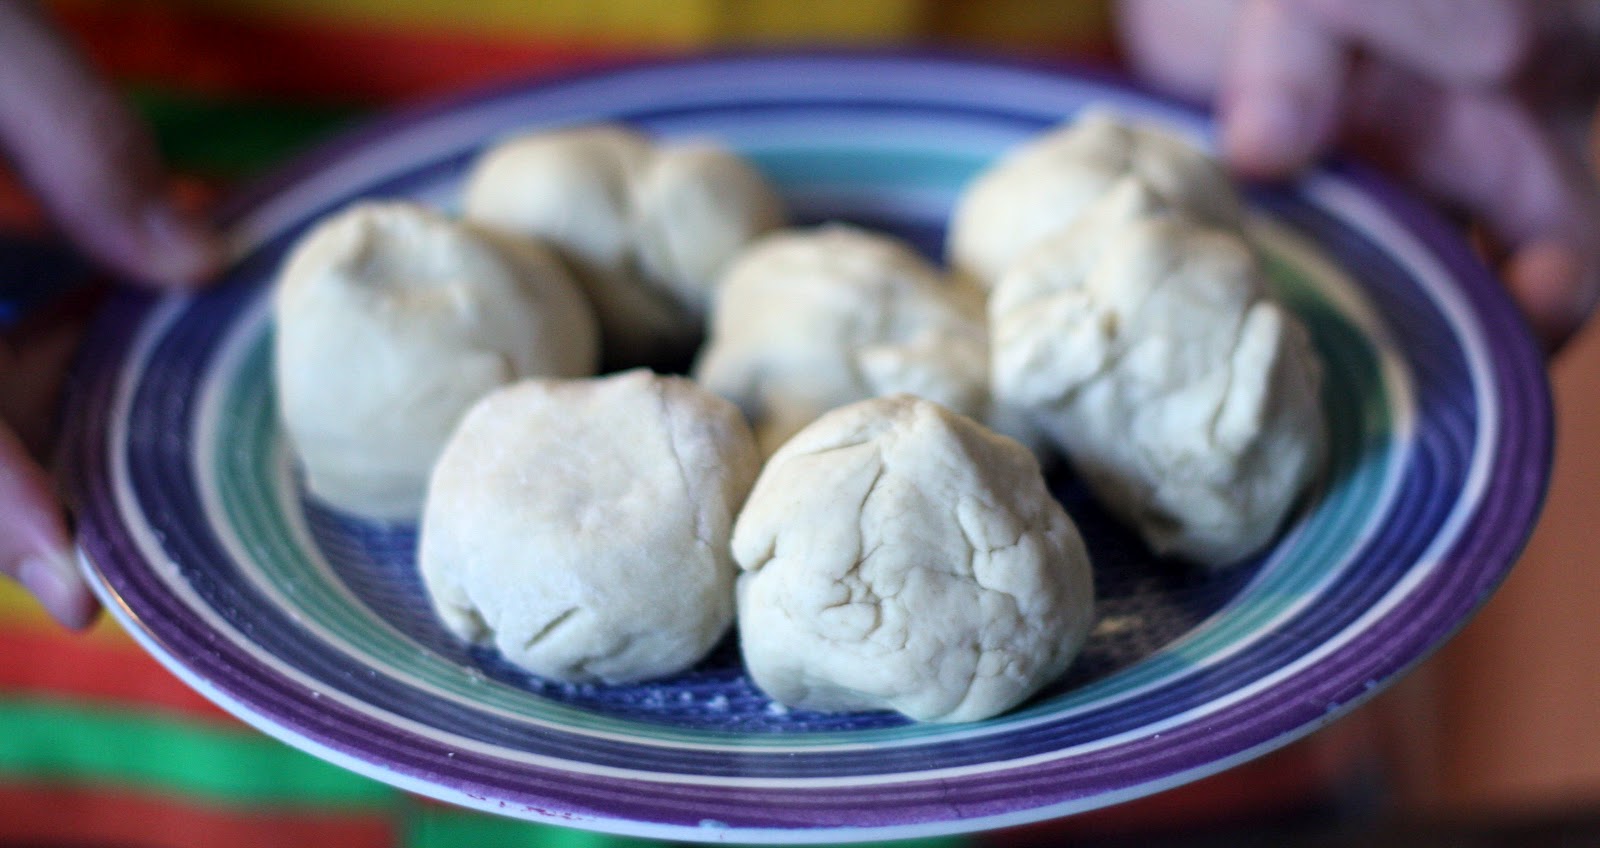
My best advice if you decide to make these is roll out the dough very thin...if it's too thick it's more like a fry-bread. The website tells me that these cost $0.25 to make ten of these--much thriftier than my old package for $3.00.
Showing posts with label cooking. Show all posts
Wednesday, May 30, 2012
Wednesday, July 6, 2011
Cupcake Cones

Here's a twist on the traditional cupcake--put it in a cone. The directions are right on the side of the cone box. Who knew? They were pretty easy to make, but I'll give you my own tips and tricks below.
To make your cupcakes in a cone, you'll need:
-24 cones (found in ice cream aisle)
-cake mix
-frosting, homemade or from a can
-sprinkles
1. Line ice cream cones up in a 9x13 pan so they are all standing up...pack them in tight. Preheat oven to 350.

2. Prepare cake mix and pour into a large Ziploc bag. Cut a hole in the corner for mix to come out, like a frosting bag. Fill cones halfway using this method. If you overfill, you'll have yourself a mess.
3. Bake for 20-25 minutes.
4. Remove from oven and let cool completely. When cooled, frost using the Ziploc bag technique, and sprinkle with decorations.
*We waited to frost until we had transported our cake cones--they tip easily
All my best,
Robin
Friday, July 1, 2011
Chicken Wild Rice Casserole
This recipe is excellent! I found it in Better Homes and Gardens "Fast Fix One Dish Meals." See a trend here? Every recipe in this cookbook has turned out fantastic, so I keep making more. This book was definitely worth the purchase!

Chicken-Wild Rice Casserole
1. Preheat oven to 350. Cook rice mix according to package. Meanwhile in a large bowl combine chicken, green beans, soup, water chestnuts, mayo, onion, almonds, and lemon juice. Stir in cooked rice mix. Transfer to an ungreased rectangular baking dish.
2. Bake for 45 minutes, covered. Sprinkle with cheese and bake uncovered until cheese is melted, about 5 minutes.

Chicken-Wild Rice Casserole
- 6 oz. pkg. long grain and wild rice mix
- 3 cups cubed cooked chicken
- 14.5 oz. can French cut green beans
- 10.75 oz. can condensed cream of celery soup
- 8 oz. can sliced water chestnuts drained
- 1/2 cup mayo
- 1/2 cup chopped onion
- 3 Tbsp. sliced almonds
- 1 tsp. lemon juice
- 1 cup shredded cheddar cheese
1. Preheat oven to 350. Cook rice mix according to package. Meanwhile in a large bowl combine chicken, green beans, soup, water chestnuts, mayo, onion, almonds, and lemon juice. Stir in cooked rice mix. Transfer to an ungreased rectangular baking dish.
2. Bake for 45 minutes, covered. Sprinkle with cheese and bake uncovered until cheese is melted, about 5 minutes.
Subscribe to:
Posts (Atom)


